The Advanced DIYers Checklist For Their First Deck Build
Ready to build your deck? Check out our Advanced DIYers Checklist for expert tips on permits, materials, and construction to create your perfect outdoor space!
With the right preparation, technical skills, patience and creativity, any advanced DIYer can build a ground-level deck quickly without the pain and hassle of digging holes for footers.
This guide is a helpful tool that advanced DIYers can use to learn how to build a deck, from planning and preparation to material selection and construction tips.
Here is a step-by-step look at how to create a stunning and functional deck.
Step 1: Navigate the Permit Process
Check Local Regulations
Before kicking off the construction process, check the local building codes and regulations to ensure safety, structural integrity and adherence to zoning requirements. Obtaining the required permits demonstrates compliance with these regulations and helps prevent potential legal issues.
Understand Permit Exceptions
Although most jurisdictions require permits for deck construction, there are some exceptions based on factors such as size, height and attachment to the home. In some areas, decks that are unattached, less than a certain square footage (often around 200 square feet) or below a specified height (often under 20 inches) may be exempt from permit requirements.
Step 2: Create a Deck Plan
Choose the Materials
Decking material can impact a deck's durability, appearance and maintenance for years to come. Here’s how to choose the best material option for a deck:
Wood: Wood decking offers a natural look. While pressure-treated pine is budget-friendly, it requires regular maintenance to prevent rot and decay. Redwood and cedar are slightly more expensive but are naturally resistant to decay and insect damage, making them durable choices. Tropical hardwoods are exceptionally rot-resistant but can be more costly.
Composite decking: Composite decking is made from a blend of wood fibers and recycled plastic. It’s durable, rot-resistant and doesn't splinter, warp or crack like traditional wood decking. Composite decking also comes in various colors and textures and requires minimal maintenance.
PVC decking: PVC decking is made entirely from synthetic materials, offering excellent resistance to moisture, mold and mildew. It is highly durable and doesn't require sealing or staining like wood decking. PVC decking is available in a wide range of colors and styles, and it's also resistant to fading from UV exposure.
Mineral-based composite decking: Mineral-based composite decking is made from a combination of mineral fillers, resins and pigments. It offers similar benefits to traditional composite decking, such as durability and low maintenance, but due to its mineral content, it offers a more natural look and feel.
Determine the Deck’s Square Footage
Accurate measurements are the foundation for designing a deck layout and determining the quantity of materials needed. Measuring the dimensions of the space will help to visualize the size and shape of the deck, ensuring it fits seamlessly into the outdoor area.
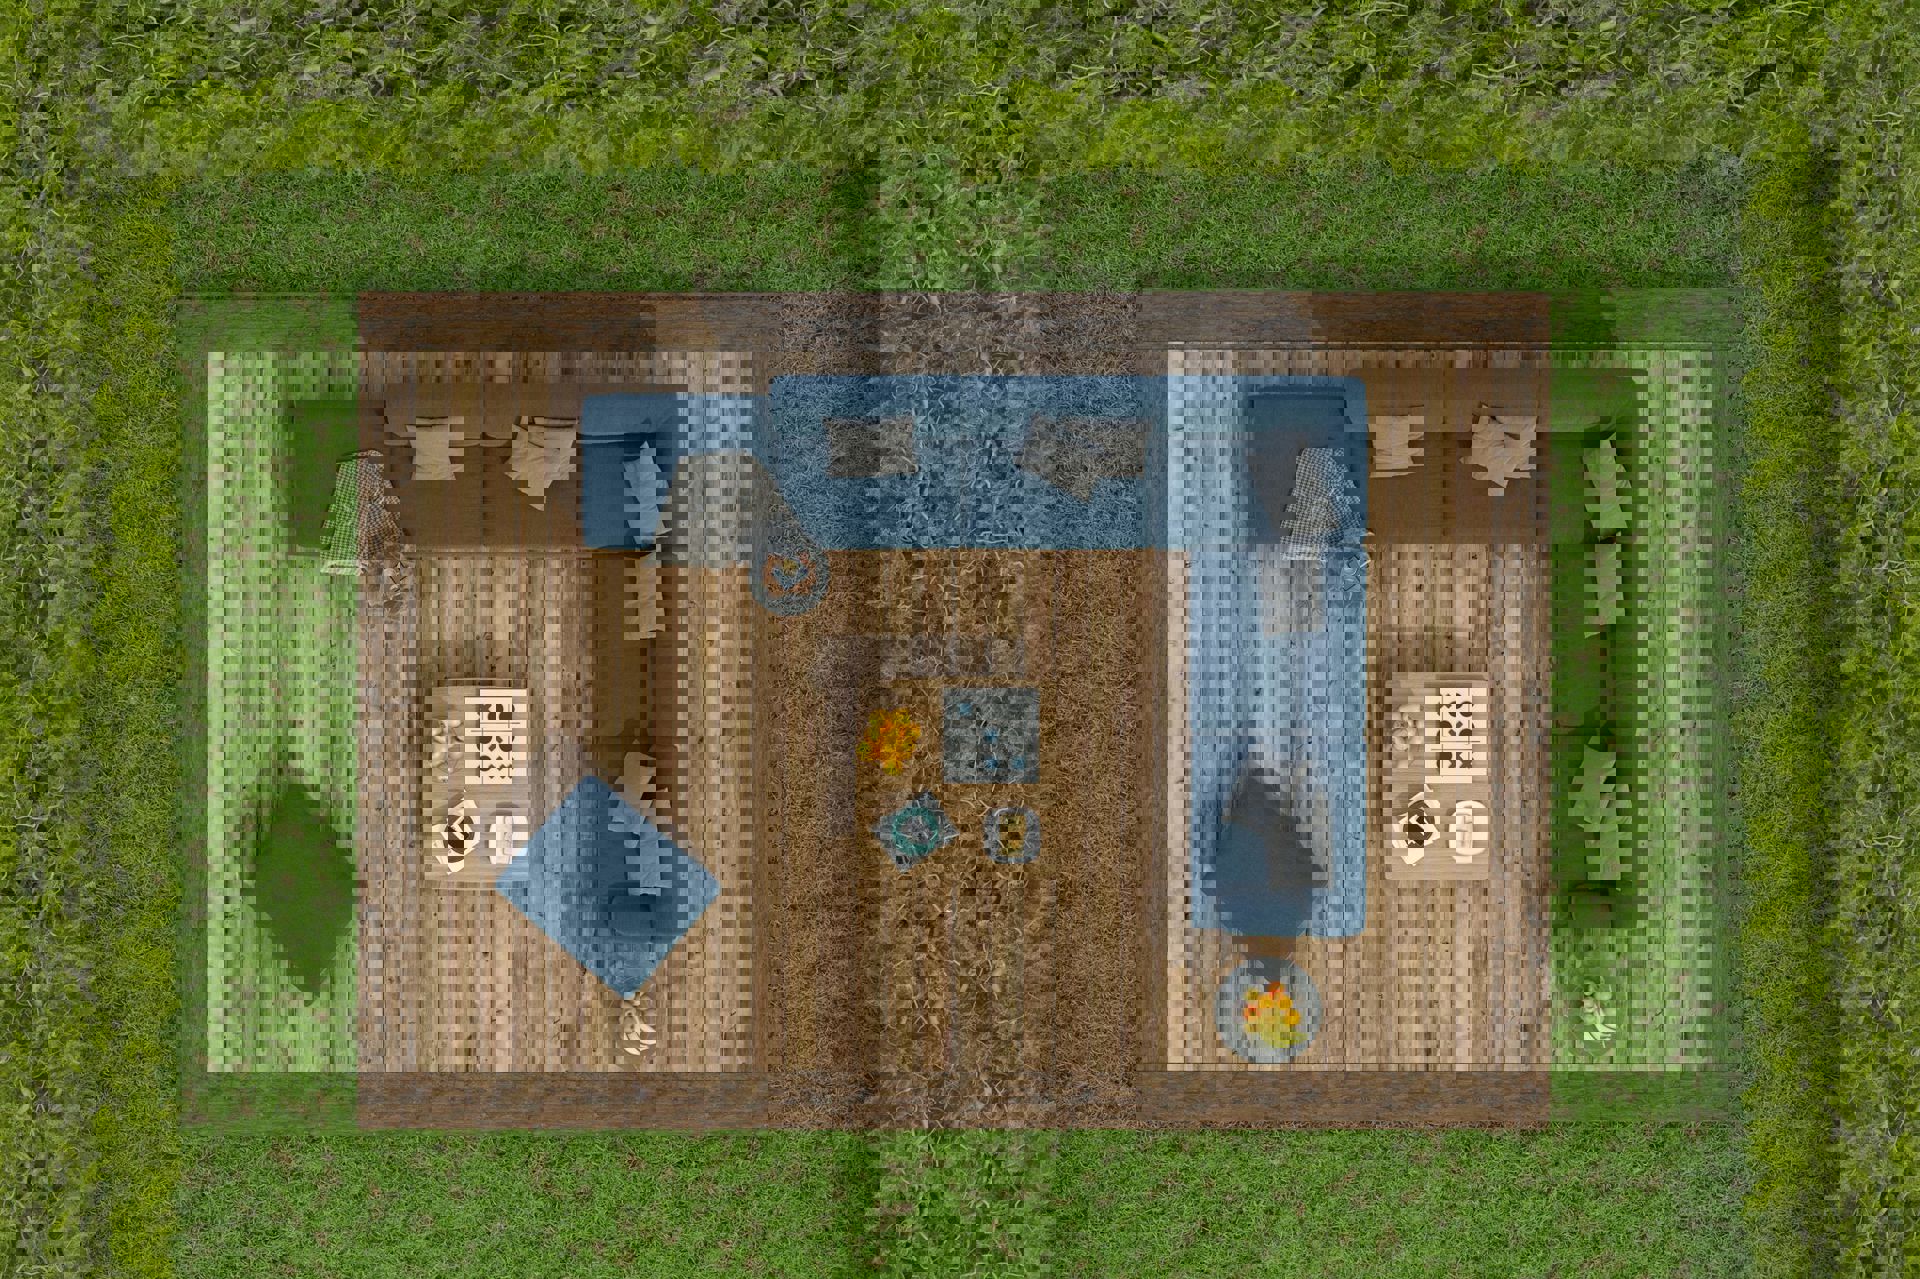
Design the Deck
After determining the measurements, it’s time to brainstorm the deck layout to maximize the use of the outdoor space. Make sure to consider factors such as existing landscaping, trees and structures so the deck layout enhances the aesthetics and functionality of the space.
Prepare the Site
Before starting construction, clear the site of any vegetation, debris or obstacles that might compromise the integrity of the deck. This includes removing rocks, roots, shrubs and other obstructions from the area to create an open space for construction.
In addition, make sure the area provides positive drainage, does not have standing water and is not prone to soil erosion. Uneven terrain can cause the deck to settle unevenly or lead to structural issues over time. Add gravel or loose stone if additional drainage is required. To prevent unwanted growth, a weed barrier can be used.
Set Up the Delivery Plan
Next, it’s time to schedule the delivery of all materials and building supplies. This minimizes downtime during construction. By ensuring the materials are delivered on time, homeowners can avoid storing materials onsite, optimizing space for construction.
Plan for Safety
Construction poses inherent risks, including falls, trips and potential exposure to hazardous materials. To safeguard against injuries, always implement measures such as wearing hard hats, safety glasses, gloves and sturdy footwear.
Step 3: Build a Solid Foundation
Build a Durable Deck Structure
The deck structure forms the deck's foundation, supporting the entire structure. When deciding on the framework, including posts, beams, joists and footings, consider factors such as load-bearing capacity, local building codes and environmental conditions.
Another option is to use the Level.Up pedestal system. This system eliminates the need for concrete footers and posts and can be installed over existing concrete, pavers, compact soil or compact gravel. They eliminate the time, mess and labor of building a traditional deck foundation and can each support 750 pounds.
Attach Sturdy Fasteners
Fasteners play a critical role in the structural integrity of a deck. It is important to choose the right screws, nails or hidden fasteners so that the deck boards are securely attached to the framework, which minimizes the risk of warping, splitting or popping out over time.
Stainless-steel or corrosion-resistant fasteners are ideal for outdoor applications as they withstand exposure to moisture, prevent rust and have lifespans of over 50 years.
Note: Always check the lifespan of a fastener to ensure you don’t opt for fasteners that need replacing every 10 years.
Step 4: Assemble a DIY Toolkit

Circular Saw
A circular saw is a must-have in a DIY Toolkit for making precise and straight cuts. Its portability and ease of use make it indispensable for cutting deck boards to size, trimming joists and shaping framing components.
Cordless Drill
A drill is needed for driving screws, drilling pilot holes and assembling the decks’ components. A cordless drill offers convenience and mobility, allowing one to work efficiently without being tethered to a power source.
Level
A level surface is essential for the stability of a deck. A spirit level or bubble level ensures that deck boards, joists and posts are properly aligned, preventing uneven surfaces and potential tripping hazards.
Tape Measure
A durable tape measure allows for precise measurements of distances, dimensions and angles, ensuring the deck is built to the planned size and specifications.
Framing Square
A framing square ensures square corners, marking angles and transferring measurements during construction. Its L-shaped design and precision markings make it indispensable for laying out joists, marking cuts on deck boards and verifying the squareness of framing components.
Step 5: Build the Deck
Using the deck plan you created, follow the building instructions closely to avoid mistakes. Similarly, take measurements twice to ensure the measurements of the boards you’re cutting and using are precise.
Finally, consider using adjustable deck pedestals to avoid the need for concrete footers and posts. Level.Up’s adjustable deck pedestals allow DIYers to create different deck designs and configurations and help them build beautiful, ground-level decks up to 20 inches tall.
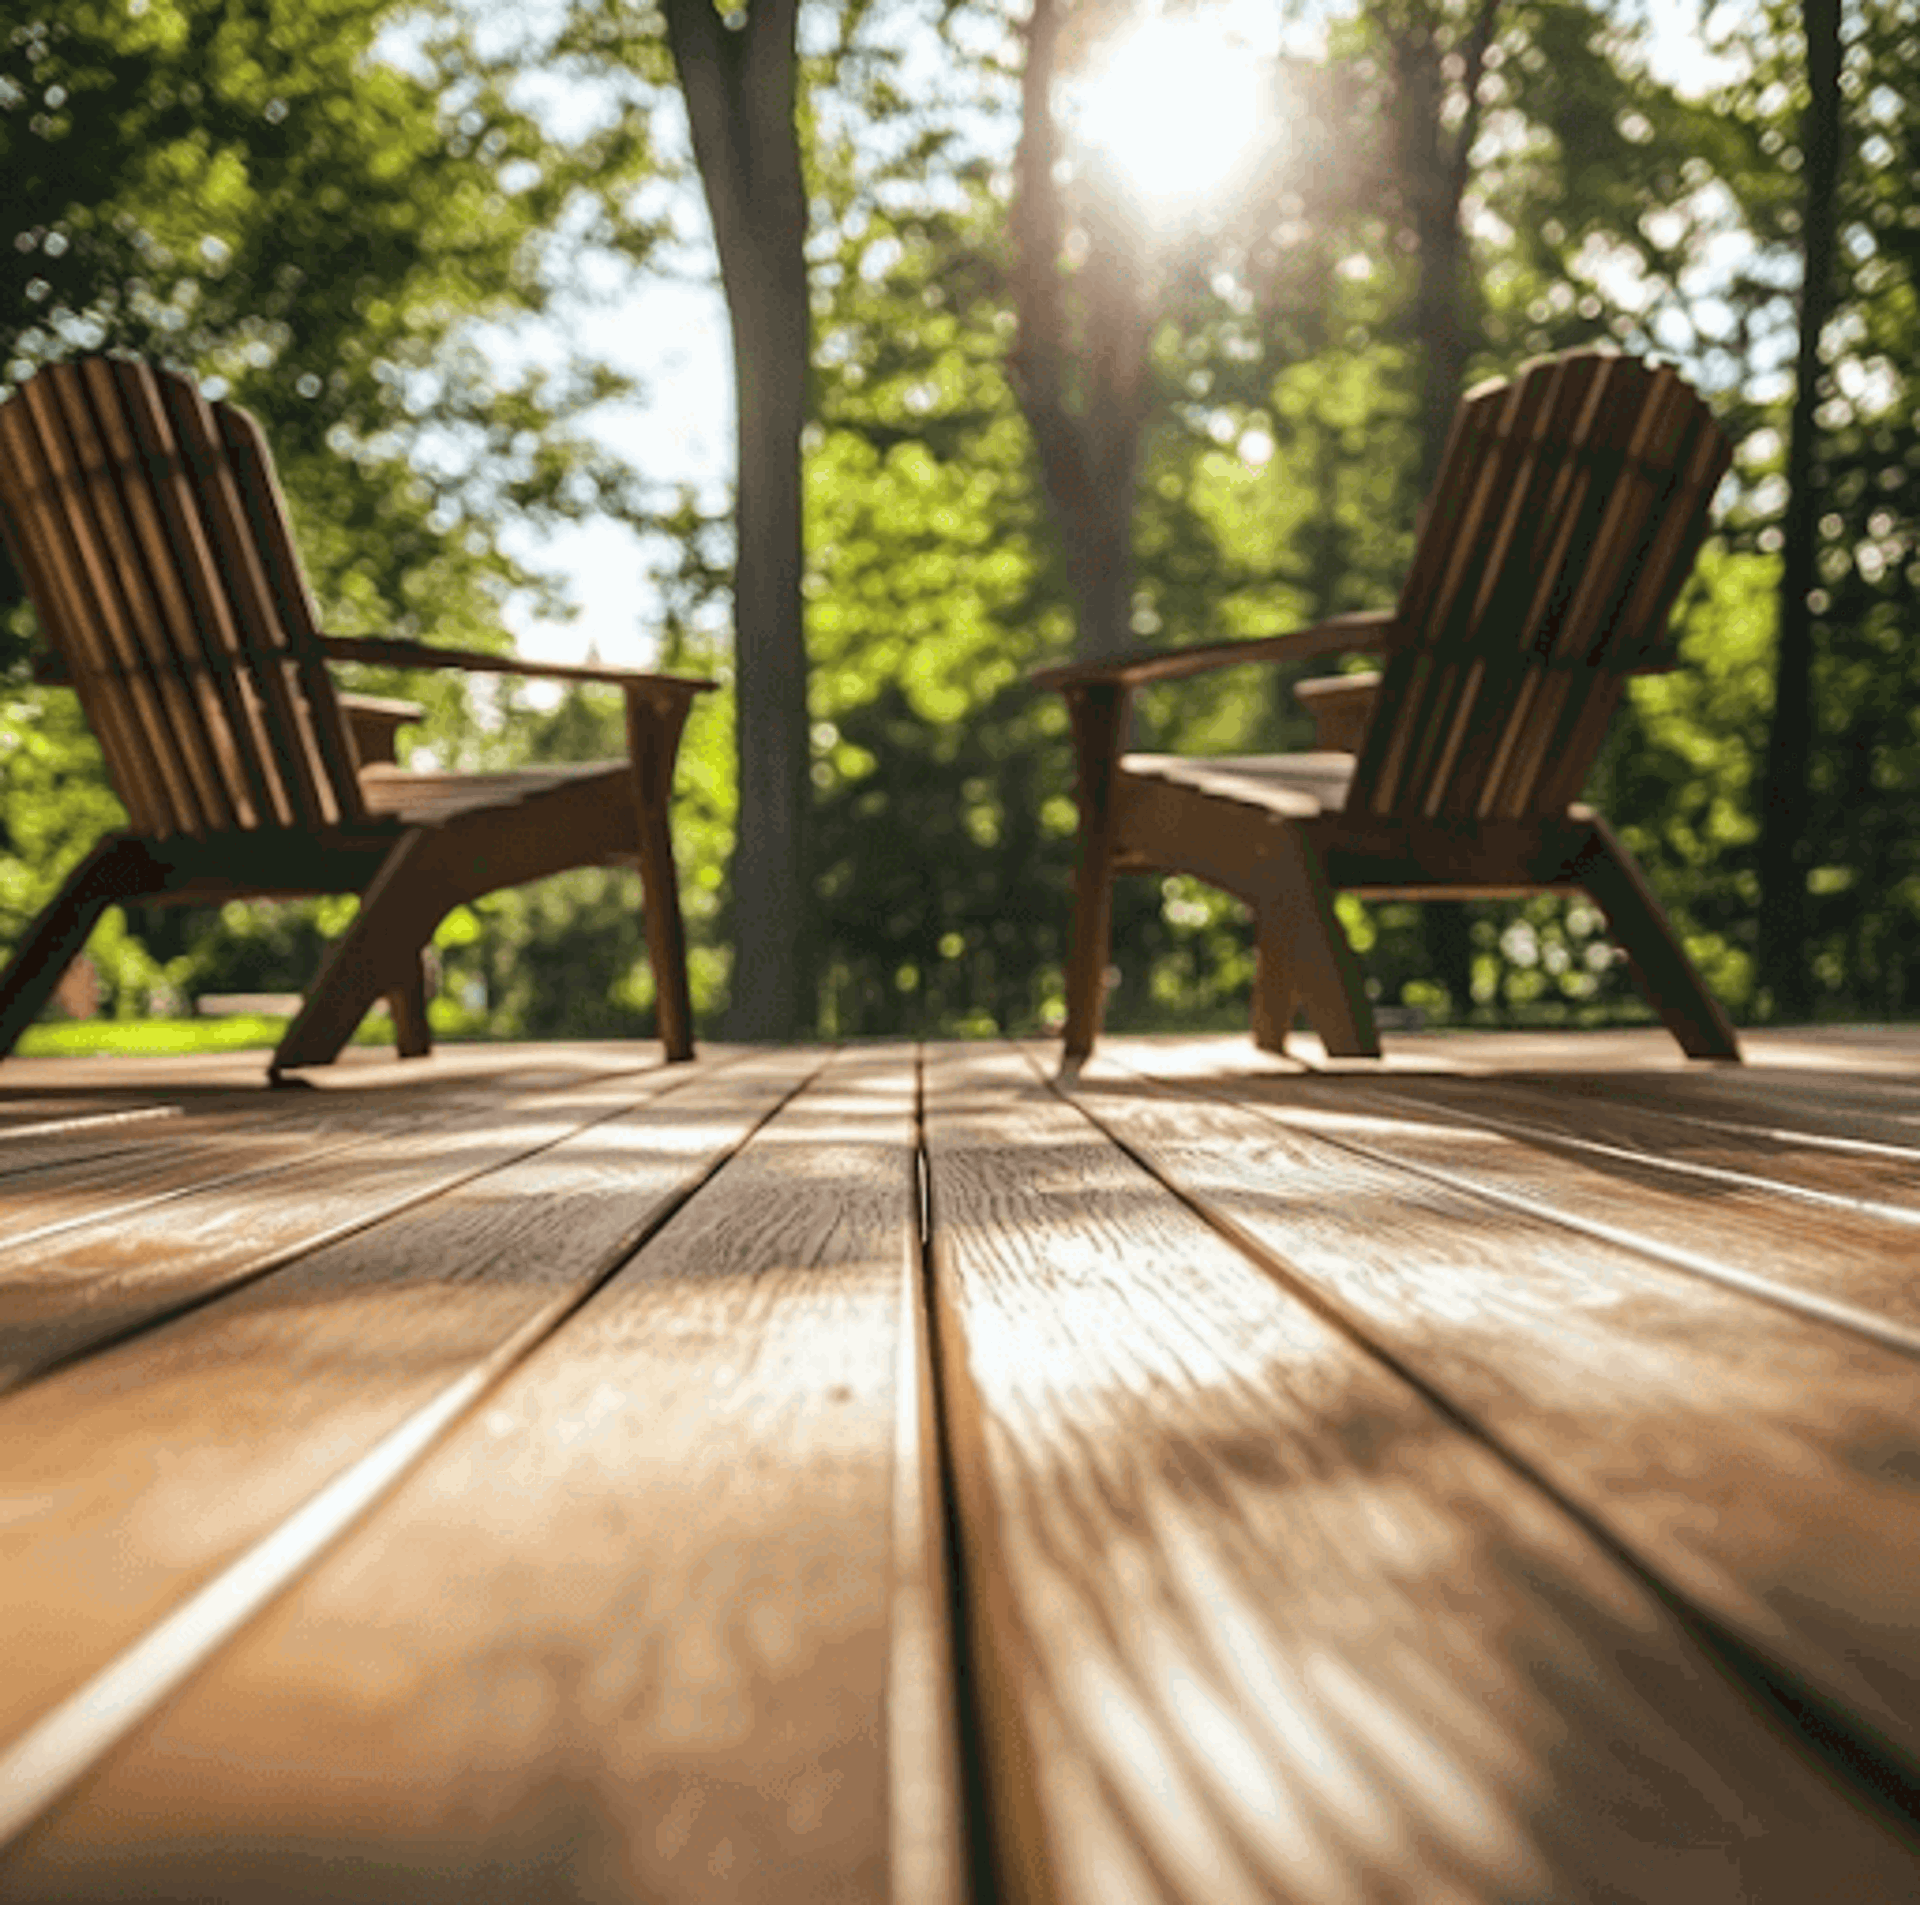
Step 6: Craft the Perfect Outdoor Retreat
Light Up the Deck
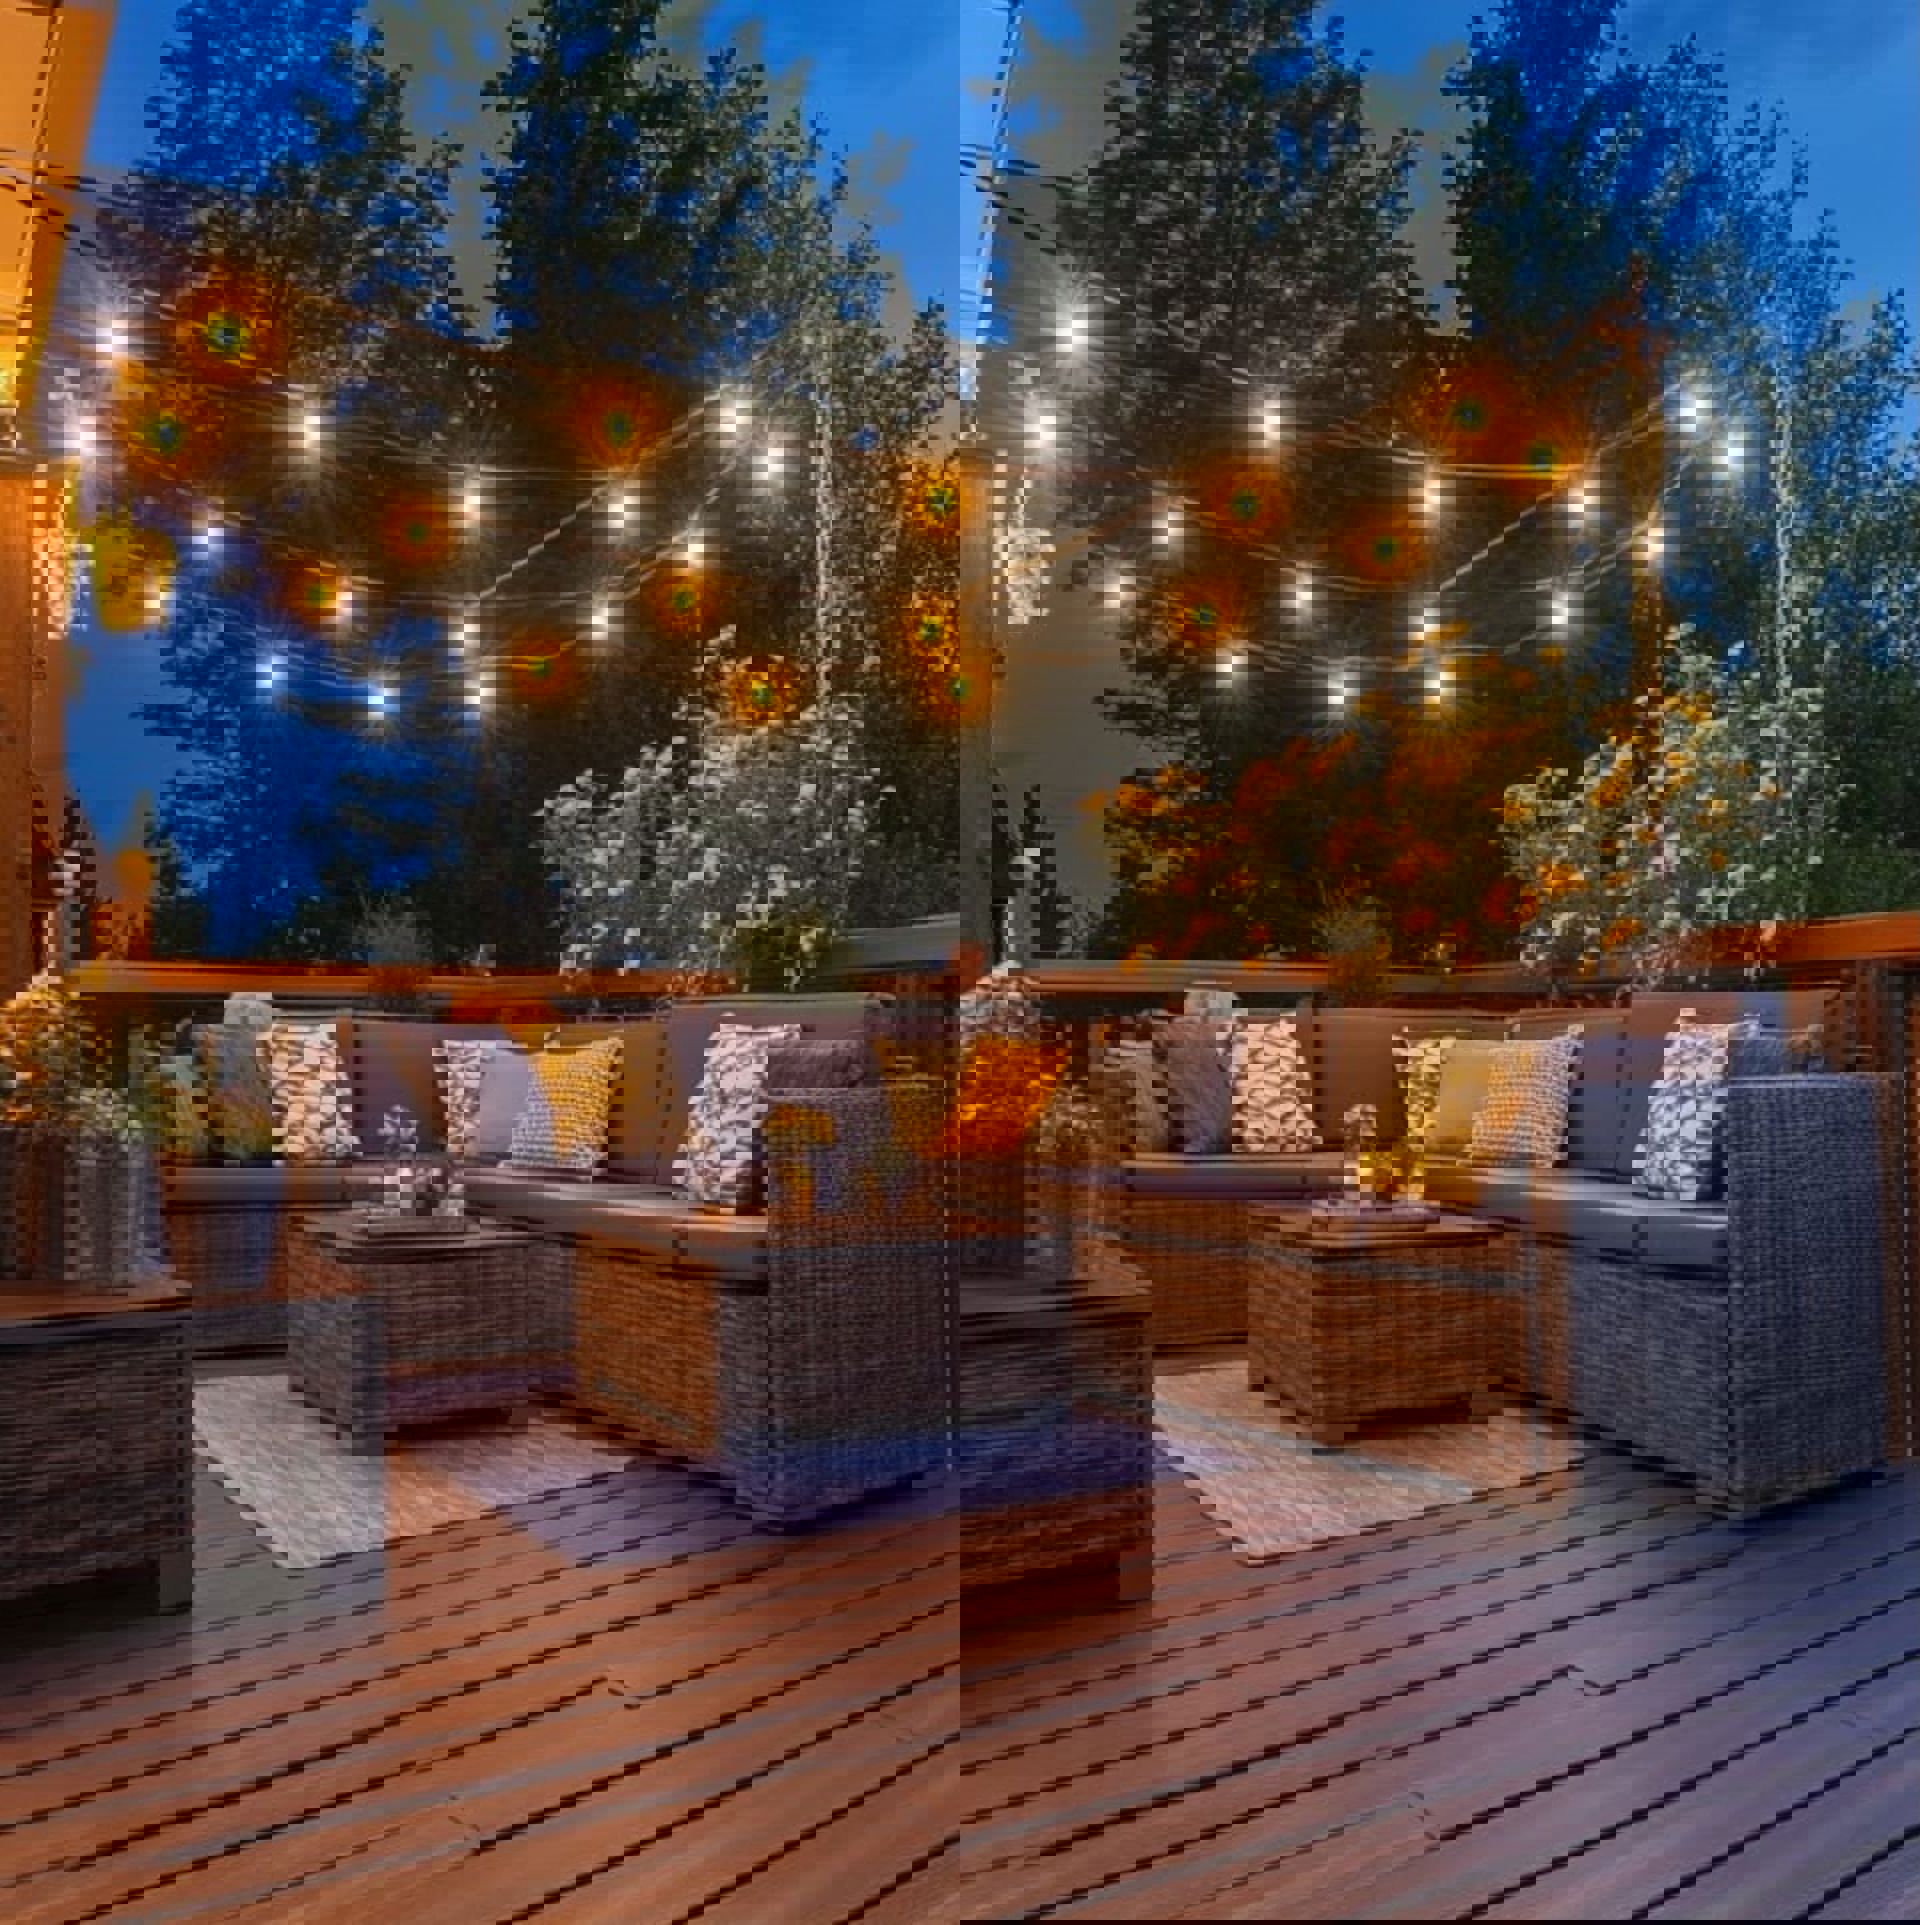
Lighting enhances the ambiance and functionality of the deck so you can enjoy the space after the sun sets. When exploring lighting options, consider the advantages and disadvantages of solar lights and low-voltage lights.
Solar lights are energy-efficient and easy to install since they don't require wiring or electricity. On the other hand, low-voltage lights offer consistent brightness, making them suitable for areas with limited sunlight. They provide more flexibility in design and placement, allowing DIYers to create custom lighting effects and highlight key features of their decks.
Explore Other Decorative Options
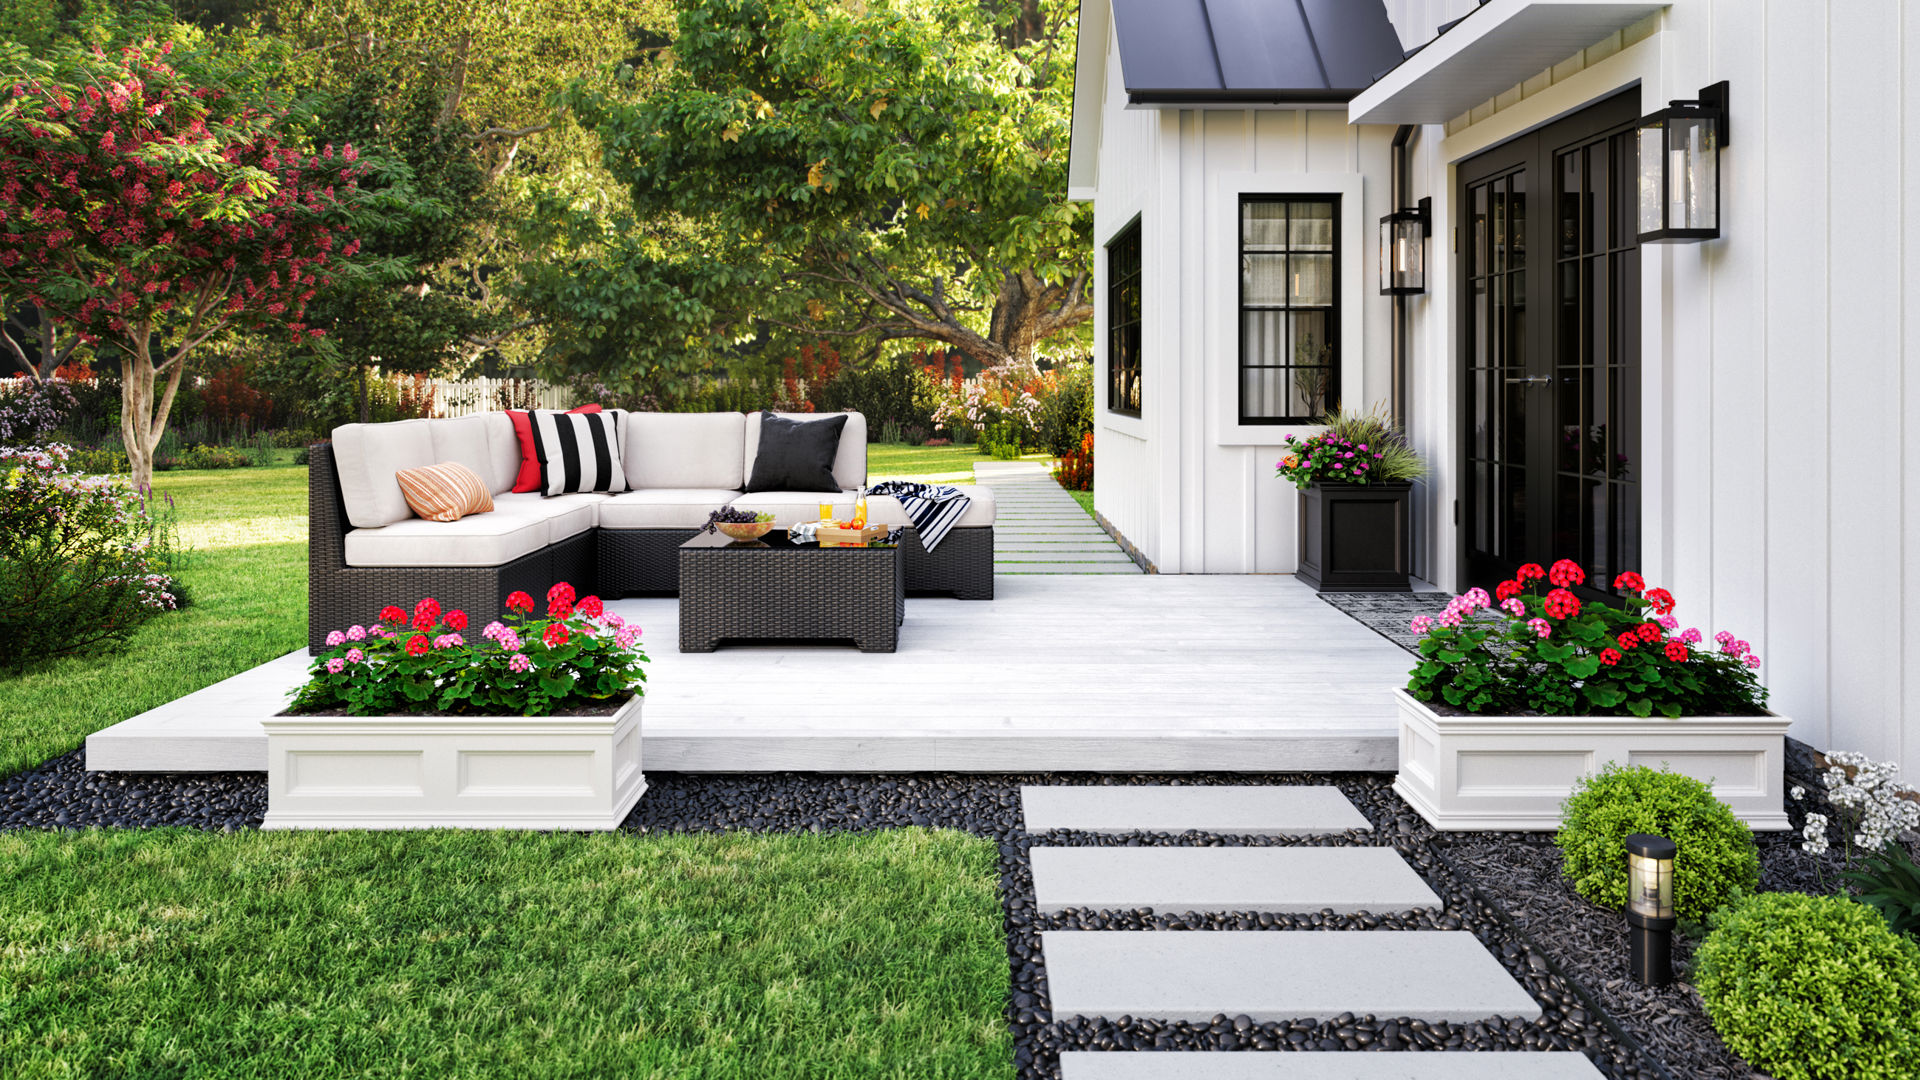
Beyond lighting, there are additional decorative options one can explore when planning a deck, including outdoor furniture and deck pedestals.
Outdoor furniture provides comfort and added functionality for outdoor living. Whether it’s a cozy sofa for lounging or tables and chairs for al fresco dining, outdoor furniture helps create a deck space that can be utilized and enjoyed all year.
Level Up the Decking Experience
Thorough planning and attention to detail are essential for a successful deck-building experience.
With Bison Level.Up pedestals, advanced DIYers have the flexibility and capability to bring their deck vision to life, no matter their design trends or preferences. To discover how Level.Up can elevate a deck project, visit our website or contact our team today.

